
How to Host a Seasonal Wreath-Making Workshop in Your Studio
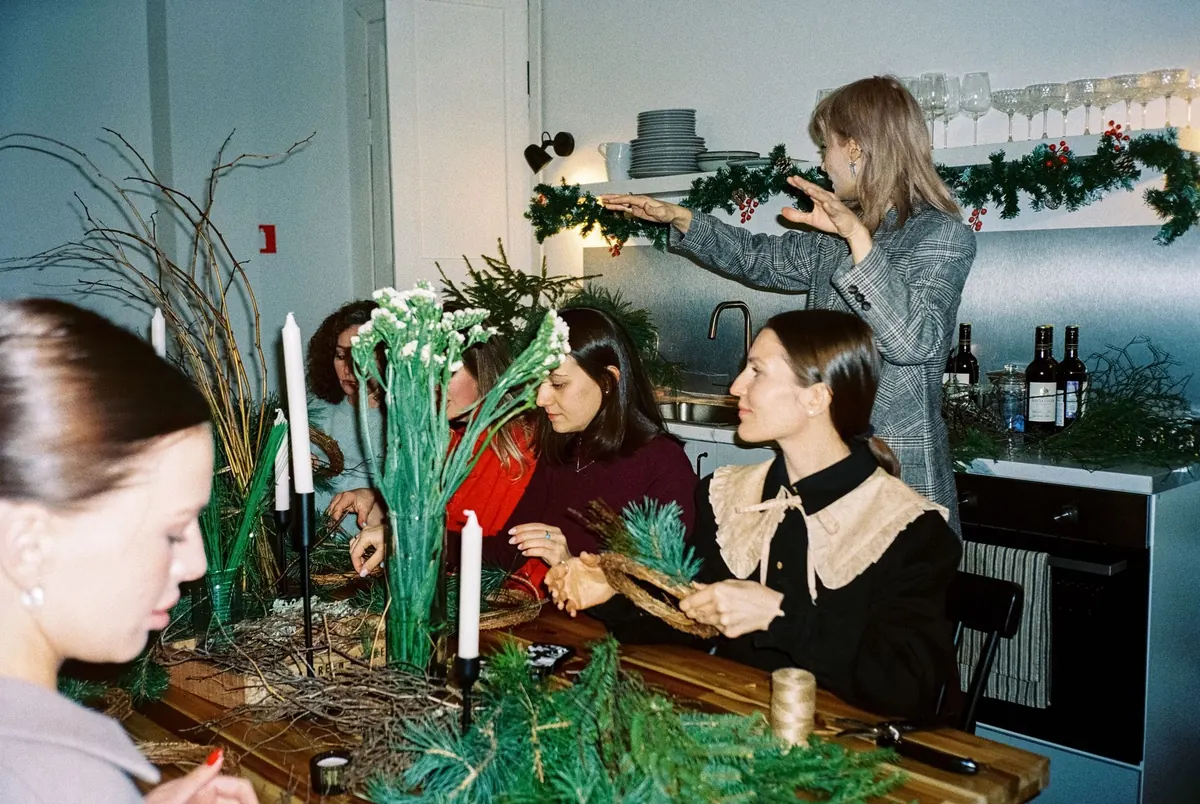
A wreath workshop is one of the easiest events a creative studio can host, and one of the most satisfying to watch. Eight people sit down with a pile of greens, a wire frame, and no clear idea how it will turn out. Two hours later they're holding something they made by hand and photographing it before they've put their coats on. The format rewards preparation: the better you plan the materials, the room, and the pace, the more space you have to actually teach.
Start With a Date, a Length, and a Head Count
Wreath workshops live or die by timing. Evergreen wreaths want late November through mid-December; spring versions built from willow, dried citrus, and strawflower work well in April and May. Thursday evenings and Saturday mornings both fill reliably. Saturday tends to draw a calmer, chattier crowd; evenings draw people straight from work who want the table set before they arrive.
Two hours is the sweet spot. Ninety minutes feels rushed once you add a bow, and anything past two and a half hours starts to drag for beginners who have never wired a bundle before. Build in twenty minutes on either side for arrivals and lingering.
Cap your first workshop at eight to ten guests. That's small enough that you can reach every table and still pour yourself a cup of coffee. If you want to go larger, bring a second pair of hands — an assistant, a friend who knows the mechanics, or a returning guest happy to help in exchange for a free seat.
Choose Materials That Suit the Season
Every wreath needs three things: a base, greens, and something with contrast. For a base, wire frames and grapevine rings both work; grapevine is more forgiving for beginners because you can tuck stems into it without wiring every single bundle.
For greens, mix textures rather than piling up one kind. Noble fir, cedar, pine, boxwood, magnolia, eucalyptus, and rosemary all behave differently — some hold their needles longer, some dry to an interesting color, some smell like the whole point of the season. Plan on roughly a grocery-bag-sized bundle of mixed greens per guest for a 16- to 18-inch wreath, then adjust after your first run. Your second workshop will be far more accurate than your first.
If you forage, ask permission first, stay away from roadsides and anything that may have been sprayed, and leave protected species alone. Tree lots and garden centers often sell or give away trimmings — worth a phone call in early November. Embellishments can be simple: dried orange slices, cinnamon sticks, pinecones, berries, small ornaments, ribbon in two or three widths.
Build a Supply List You Reuse Every Year
- Bases: wire frames and grapevine rings in two or three sizes
- Wire and twine: 22-gauge floral wire or paddle wire, plus jute twine for a looser look
- Tools: bypass pruners, wire cutters, scissors, glue guns with spare glue sticks, floral tape
- Ribbon in several widths and colors, cut into working lengths before guests arrive
- Buckets for greens, sorted by type and clearly labeled
- Drop cloths or kraft paper for tables, and a tarp underneath
- Gloves, aprons, hand wipes, a bin for trimmings, and a small first aid kit — pruners and wire are unforgiving
- Extras: name tags, a finished sample wreath, a printed care card, water, and something to nibble
Buy a little more greenery than you think you need. Running short mid-workshop is the one problem you can't solve gracefully.
Set Up the Room Before Anyone Arrives
Seat six to eight people per table and put a full set of tools at every place, not one set per table. A shared greens bar — buckets sorted by type and set against a wall — works better than greens piled at each seat, because it gets people out of their chairs and talking to each other.
Set your demo table at the front and raise it if you can, so hands and wire are visible from the back row. Check the lighting from a seated guest's point of view; overhead fixtures often leave the tabletop in shadow, which is where all the work happens. The room will warm up quickly once glue guns and bodies arrive, so start it slightly cool.
Budget an hour of setup beyond the time it takes to condition your greens, trim stems, and pre-cut ribbon. When guests walk in, everything should look like it's been waiting for them.
Price It So It Actually Pays
Add up materials per person, your prep hours, teaching time, cleanup, studio overhead, and a margin. Divide by the number of seats and that's your ticket price. If the number feels high, cut the embellishments before you cut your own time.
Take a deposit to hold a seat and set a clear cancellation window. Require a minimum enrollment to run the class, and say so on the booking page so nobody is surprised. If you sell tickets, you may be creating a taxable event and taking on some liability, so check your local rules and your insurance before you start promoting.
A short conversation with an accountant or your insurer is worth having before your first paid workshop. It's boring, and it takes twenty minutes, and it means you can relax and teach.
Add a few simple upsells at the door: extra greenery bundles, ribbon by the yard, pre-made wreaths for anyone who wants one to take home today, and gift cards for a future session.
A Teaching Flow That Keeps Everyone Moving
- First ten minutes. Welcome, bathrooms, coffee, and a quick overview of what they'll leave with. Cover safety in one sentence: pruners cut, wire pokes, keep fingers behind the blade.
- Next fifteen minutes. Demonstrate the whole wreath start to finish at the front, then demo the first bundle again, slowly. People need to see the ending before they trust the beginning.
- The long middle. Hands-on time. Circulate constantly rather than parking at one table. Watch for the guest who has gone quiet — that's usually the one who needs help and won't ask.
- Last twenty minutes. Bows, berries, and finishing touches. Teach the bow once to the whole room instead of repeating it eight times at eight tables.
- Final fifteen. Photos, care card, and a slow goodbye. Some guests will stay another half hour, and that's a good sign.
Talk less than you want to. A demonstration followed by quiet working time beats a running commentary, and the room usually finds its own conversation within ten minutes.
When the Last Guest Leaves
Hand out a care card with every wreath: keep it out of direct sun and away from heat vents, mist it now and then, and expect some needle drop as it dries. Saying that up front saves guests from thinking they did something wrong.
Send a follow-up email within a day or two with a photo, care reminders, and the date of your next workshop. Then write yourself a short notes file: how many bundles you actually used, which ribbons sold, what ran out, who asked about a spring class. That file is the reason your second workshop will be calmer and more profitable than the first, and your third will feel almost easy.
Photo: Vladimir Konoplev / Pexels